
Automate KYC in HubSpot
Automating KYC as part of your workflow has never been simpler, thanks to HubSpot and IdentityCheck.
Follow these simple steps, and chat to us below if you have any questions.
Step 1: Start creating a Workflow
Step 2: Hit Next
For this demonstration, we are using a blank workflow template. For more advanced options, contact us or HubSpot.

Step 3: Set up triggers
HubSpot triggers are the events that occur prior to the KYC step being automated.

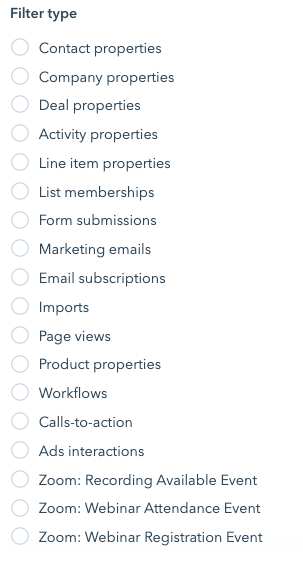
Step 4: Select trigger filter
Some common examples we have come across include when a form is submitted on the website, or when a deal gets to a certain stage. It may be different in your business. Don’t hesitate to contact us if you need help thinking this through and making a choice.
You can choose to test the trigger before saving. Continue to the next step when you have saved.
Step 5: Add action
Add an action by clicking the small + button in the circle below your trigger.

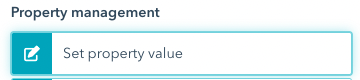
Step 6: Set Property Value
Scroll down to Property Management and Select Set Property Value.
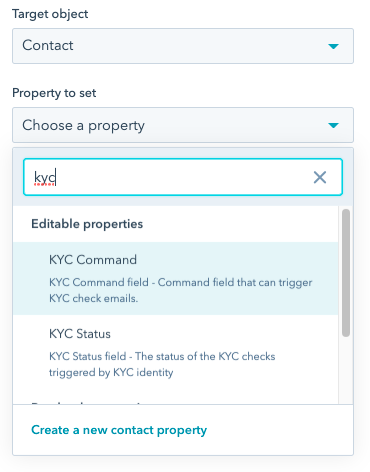
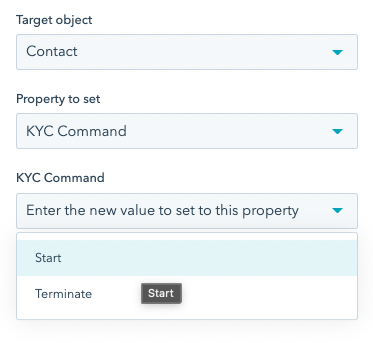
Step 7: Select KYC Command
The KYC Command field is what we use to start the KYC process. Search KYC to go straight to the right property.
Step 8: Select KYC Start
Select KYC Start and hit Save.
Step 9: Review and Publish
After clicking Review and Publish you will be able to review your entire logic, and importantly, make a decision whether you want to start the KYC process for any existing contacts that meet your trigger criteria.

Step 10: Turn On!
That’s it – you’re done. Simply switch on the workflow. You can now make a cup of tea, or even better, do a bit of testing for sample contacts. Don’t hesitate to contact us if you get stuck! 🙂

We hope you enjoyed this guide. If you haven’t already, you can get started for free with IdentityCheck here.


