
Every business has workflows. Not every business has ones that actually work. When compliance tasks pile up, team members duplicate effort, and critical steps get missed, the root cause is usually the same: no clear workflow management best practices in place. The result? Slower operations, more errors, and staff burning hours on tasks that should take minutes.
This hits harder in regulated industries, accounting, financial services, legal, where a missed verification step or a broken handoff isn’t just inefficient, it’s a compliance risk. Manual processes and disconnected software create bottlenecks that compound over time, especially when your team is juggling identity verification, client onboarding, and screening across multiple platforms that don’t talk to each other.
At StackGo, we built our integration platform specifically to solve that last problem, letting businesses run critical workflows like KYC/AML verification directly inside their existing CRM, without switching tools or building fragile custom automations. But technology only gets you halfway. You still need the right practices underpinning your processes. This article covers nine proven strategies to design, implement, and optimise your workflows so your team moves faster, with fewer mistakes and clearer accountability.
1. Run identity checks inside your CRM with StackGo
One of the biggest friction points in regulated industries is identity verification. Teams open a separate verification platform, copy contact details across, run the check, then manually update the CRM with the outcome. That process introduces delays and data entry errors, and produces a compliance trail that is hard to audit. StackGo eliminates that chain entirely by running KYC/AML checks directly inside your existing CRM.
What it looks like in practice
With StackGo’s IdentityCheck integration, your team triggers an identity check on a contact record without leaving the CRM. StackGo reads the contact’s details, sends them to the verification provider, and writes the outcome back to the record automatically. No tab switching, no copy-pasting, no manual updates. Your team completes what used to be a multi-step task in seconds, from the same screen they already work in.
This is one of the clearest workflow management best practices in action: embed the task inside the system your team already uses rather than routing work through a separate tool.
How to implement it step by step
Getting started is straightforward if you follow these steps in order:
- Connect StackGo to your CRM (HubSpot or Salesforce) via the native integration.
- Configure IdentityCheck with your verification settings, including document types and countries relevant to your client base.
- Map the fields StackGo reads from the contact record and the fields it writes results back to.
- Run a test check on an internal contact to confirm the data flow works end to end.
- Brief your team on when to trigger a check and how to interpret the outcome on the record.
Common pitfalls and how to avoid them
The most common mistake is incomplete contact records. If your CRM holds contacts with missing fields, StackGo cannot pull the data it needs to run a check. Audit your contact data before going live and set mandatory field rules in your CRM to catch gaps at the point of entry, not mid-verification when the process stalls.
Metrics to track
Once you are live, track average time to complete a verification against your pre-StackGo baseline. Also monitor your check failure rate, which captures how often a check cannot proceed due to missing or incorrect data. Both numbers will tell you quickly whether your configuration is working or needs tightening.
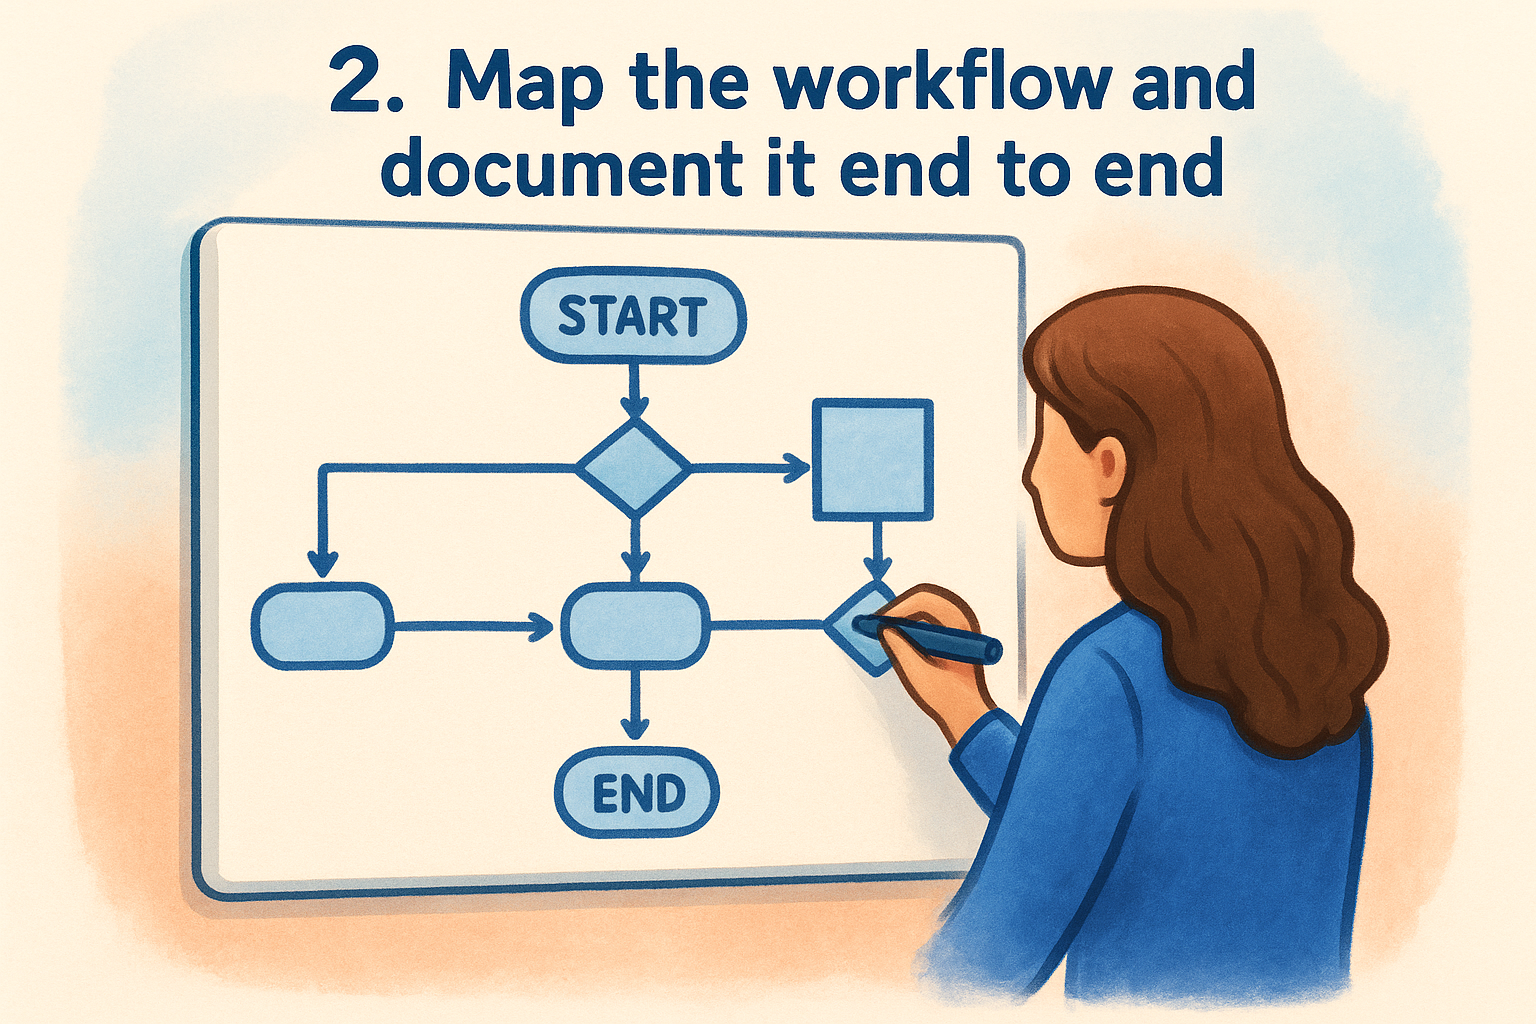
2. Map the workflow and document it end to end
You cannot fix a process you cannot see. Before you optimise anything, you need a clear, documented map of every step in the workflow, who performs each one, what triggers it, and what happens when something breaks. Most teams skip this entirely and end up repeating the same firefights week after week without understanding why.
What it looks like in practice
A mapped workflow makes the invisible visible. Instead of relying on verbal handoffs or tribal knowledge, your team works from a shared document that shows the full process from start to finish, with every step, every decision point, and every responsible party in one place.
This is one of the core workflow management best practices because it exposes bottlenecks, gaps, and duplicated effort that would otherwise stay hidden for months.
How to implement it step by step
Start simple and build from there:
- Interview the people who actually run the process, not just managers who oversee it.
- Draw each step in sequence, including decision points and exception paths.
- Assign a task type to each step: manual, automated, or approval.
- Review the draft with your team and correct anything that does not match reality.
- Store the document somewhere everyone can access and update it.
Common pitfalls and how to avoid them
The biggest pitfall is documenting the ideal process rather than what actually happens day to day. Your map needs to reflect current reality. Run the draft past frontline staff before you finalise it, since they will catch discrepancies that managers miss entirely.
Metrics to track
Track how many steps your workflow contains and how often the documented process gets followed without deviation. A high deviation rate signals that the map is wrong or the process itself needs a redesign.
3. Assign a single owner and clear decision rights
Shared ownership almost always means no ownership. When a task belongs to "the team," it belongs to no one, and work stalls at every handoff because nobody feels responsible for pushing it forward. Assigning a single named owner to each step is one of the most straightforward workflow management best practices you can apply, and it fixes accountability problems faster than any software change.
What it looks like in practice
A workflow with clear ownership has a named person responsible for each step and a defined authority for every decision point. Your team knows exactly who to go to when something needs approval, gets blocked, or requires escalation. There is no ambiguity about who acts next.
Clarity on ownership removes the two most common causes of delay: waiting for someone to claim a task and waiting for a decision that nobody realises they are authorised to make.
How to implement it step by step
Work through your workflow map and assign ownership at each stage:
- Name one person responsible for each step, not a role or a team.
- Define which decisions that person can make without escalation.
- Document who the escalation path leads to when a decision exceeds their authority.
- Communicate the structure to everyone involved so expectations are explicit.
Common pitfalls and how to avoid them
The most common mistake is assigning ownership on paper but not updating it when roles change. Review your ownership assignments whenever your team restructures, because a stale assignment is as useless as no assignment at all.
Metrics to track
Track task age per owner to spot where work sits longest. Rising averages against a specific person signal either a capacity problem or an unclear decision boundary that needs addressing.
4. Design handoffs around dependencies and waiting time
Handoffs are where workflows break down. Every time work passes from one person, team, or system to another, there is a window for delay, miscommunication, or dropped tasks. If your workflow contains steps that depend on another completing first, and most do, then managing those dependencies and waiting periods is not optional. It is the difference between a process that moves and one that stalls repeatedly.
What it looks like in practice
A well-designed handoff has explicit triggers and clear conditions. The next person in the chain knows exactly when they take ownership and what state the work should be in when they receive it. Nothing moves forward until prerequisite steps are confirmed complete, and there is a defined signal that the handoff is ready rather than an assumption.
Designing the moment of transfer as carefully as the task itself is one of the most overlooked workflow management best practices in regulated industries.
How to implement it step by step
Work through your workflow map and address each handoff point directly:
- List every step that depends on another step completing before it can start.
- Define the trigger that signals the work is ready to move forward.
- Assign a maximum wait time for each handoff before an escalation fires.
- Make the trigger automatic where possible, such as a status change in your CRM.
Common pitfalls and how to avoid them
The most common mistake is relying on verbal communication to signal a handoff. People miss messages and interpret readiness differently. Build system-level triggers into your workflow so the handoff happens automatically when conditions are met, removing the human gap entirely.
Metrics to track
Measure average handoff wait time at each transition point. A rising average at a specific handoff tells you exactly where your process loses momentum and where to focus your next round of improvements.
5. Centralise work and standardise inputs and data
Scattered data and inconsistent inputs slow every workflow that touches them. When your team pulls information from multiple sources or enters data in different formats, you create compounding errors that take longer to fix than the original task took to complete. Centralising where work happens and standardising the data that enters your process is one of the workflow management best practices that pays off in every downstream step.
What it looks like in practice
A centralised workflow means your team works from one system of record, not three spreadsheets, two inboxes, and a shared drive. Inputs follow a defined format so every record looks the same when it arrives at the next step.
Standardising inputs at the point of entry is far cheaper than correcting inconsistent data mid-process or during a compliance audit.
Your team spends less time reformatting and chasing missing information because the process will not accept anything that does not meet the standard before it moves forward.
How to implement it step by step
Pick the single platform that serves as your source of truth for the workflow, then build required fields and validated input formats directly into that system so bad data cannot enter. Run a data audit on existing records to fix inconsistencies before they carry forward into your standardised process.
Common pitfalls and how to avoid them
Teams often standardise the format but forget to enforce it, relying on staff to follow instructions voluntarily. Use system-level validation rules instead. If the platform allows a free-text field where a dropdown should be, someone will use it incorrectly.
Metrics to track
Track your data error rate, which measures how often records arrive at a step with missing or incorrectly formatted fields. Monitor this figure monthly. A consistently falling error rate confirms your standardisation is working and your centralised source of truth is holding.
6. Automate repeatable steps and approvals safely
Repeatable tasks are the safest starting point for automation, but only once you have confirmed the step is stable and runs the same way every time. Automating a broken or undefined process just produces errors faster. Nail down the logic before you remove the human from the loop.
What it looks like in practice
Automation works best on high-volume, low-variation tasks such as sending confirmation emails, updating record statuses, triggering approval requests, and routing documents based on predefined rules. These follow a predictable pattern every time, which makes them safe automation candidates without introducing compliance risk.
Automating repeatable steps is one of the most effective workflow management best practices because it frees your team to focus on work that genuinely requires human judgement.
How to implement it step by step
Start by listing every step your team performs the same way more than ten times a week. Then rank them by time cost and error rate before you build anything:
- Target the highest-frequency, highest-error tasks first.
- Build the automation inside your existing CRM or workflow tool rather than adding a separate platform.
- Test each automated step against real data before switching it on for the whole team.
Common pitfalls and how to avoid them
The most common mistake is automating steps that contain unaccounted exceptions. Without a fallback path, those edge cases stall silently.
Nobody notices until a compliance review or client complaint surfaces the gap, by which point the backlog is significant. Every automation needs a defined exception route before it goes live.
Metrics to track
Track the volume of tasks completed automatically versus manually each week. Also monitor your error rate per automated step on a monthly basis. A rising error rate on a specific automated step is your signal to review the logic before the problem compounds downstream.
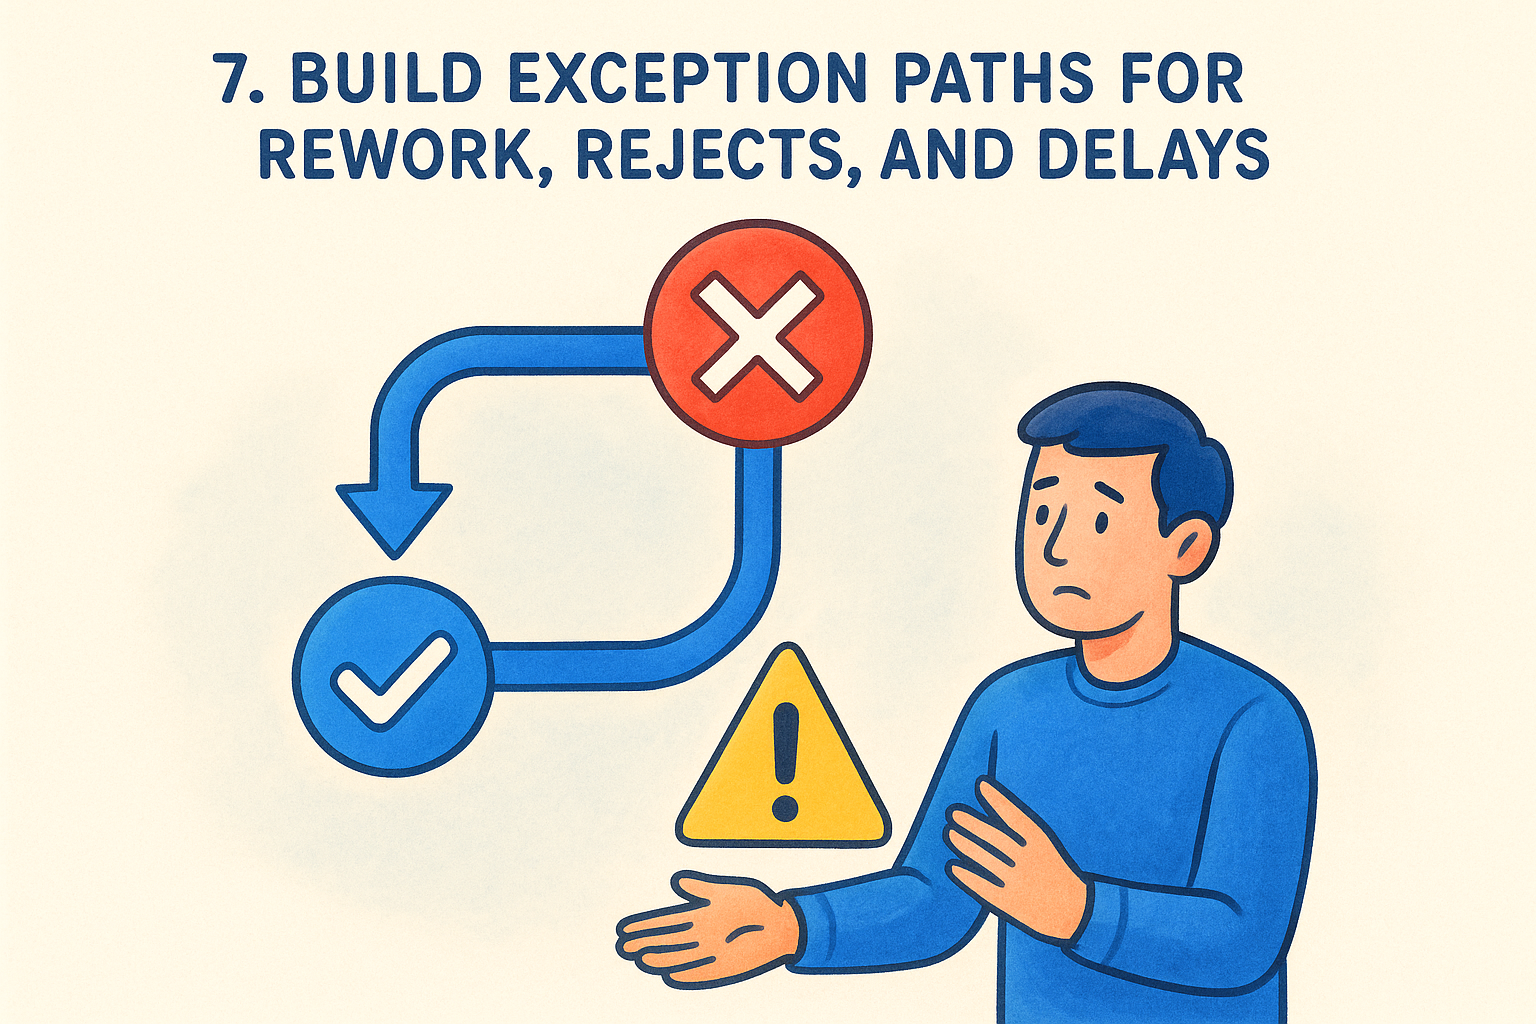
7. Build exception paths for rework, rejects, and delays
Every workflow will hit a point where something does not go to plan. A document gets rejected, a check fails, a client does not respond on time. Without a defined exception path, your team improvises a response every single time, which produces inconsistent outcomes and wasted hours that compound across the whole team.
What it looks like in practice
An exception path is a pre-built branch in your workflow that activates when a step fails or stalls. Instead of grinding to a halt, the process routes the work to a defined resolution step, assigns responsibility, and sets a timeframe for correction. Your team knows exactly what to do because the path already exists.
Building exception handling into your workflow from the start is one of the most underrated workflow management best practices in regulated environments.
How to implement it step by step
Review your workflow map and flag every step that can produce a failure or rejection outcome. For each one, define the following:
- What triggers the exception
- Who takes ownership of the resolution
- The maximum time allowed before escalation fires
Common pitfalls and how to avoid them
Teams often build exception paths for obvious failure points but ignore delays caused by unresponsive clients or third parties. A task sitting in a waiting status indefinitely is still an exception. Set time-based triggers that fire when a step exceeds its maximum wait time, not only when a step actively fails.
Metrics to track
Track your exception rate per workflow step each month. A step that consistently triggers exceptions is a signal that the underlying process needs redesigning, not just a better workaround.
8. Improve continuously with metrics, reviews, and audits
A workflow that runs without regular scrutiny will degrade over time. Team behaviours shift, tools get updated, and client requirements change, but the documented process stays the same. Continuous improvement is not a one-off project. It is a standing discipline that keeps your workflows aligned with what your business actually needs.
What it looks like in practice
Your team reviews workflow performance data on a scheduled basis, identifies steps that are slowing down or generating errors, and makes targeted changes before problems compound. Audits confirm that your documented process matches what is happening in reality, which is one of the most valuable workflow management best practices you can build into your operating rhythm.
Scheduled reviews catch drift before it becomes a compliance problem. Waiting until something breaks is always more expensive than finding it early.
How to implement it step by step
Set a monthly review cadence to examine your key workflow metrics. Schedule a quarterly audit where a team member walks through the process step by step against the documented map. Log every change with a date and reason so you build a clear revision history that supports compliance reporting.
Common pitfalls and how to avoid them
The most common mistake is treating a review as a tick-box exercise rather than a genuine investigation. If your meetings consistently conclude that nothing needs changing, your team is not looking hard enough. Push reviewers to bring at least one improvement to each session.
Metrics to track
Track cycle time per workflow and your overall exception rate month on month. A falling cycle time paired with a falling exception rate tells you your continuous improvement process is producing real results.

Keep the workflow working
Faster workflows do not happen by accident. Every practice in this list builds on the same principle: design the process deliberately, then hold it accountable with data and regular review. Whether you start with ownership clarity or centralising your data, the goal is the same. Remove the friction that slows your team down and replace it with clear steps, defined ownership, and reliable automation.
For teams in regulated industries, the stakes are higher. A broken workflow is not just an efficiency problem, it is a compliance risk that compounds every time a step gets missed or a verification gets skipped. Applying these workflow management best practices systematically gives you a process that scales without breaking under volume or scrutiny.
If identity verification is one of your biggest bottlenecks, run KYC/AML checks directly inside your CRM with StackGo and cut the time your team spends on each check from minutes to seconds.


