
Getting the 100-point identity check right matters. Whether you’re onboarding a new client at an accounting firm or verifying a customer’s identity for AML/CTF compliance, having a clear document verification checklist saves time and prevents costly back-and-forth. Miss a document category or accept the wrong combination, and you’re back to square one, or worse, non-compliant with your regulatory obligations.
The 100-point system assigns point values to different types of identification documents, from passports and birth certificates to bank statements and utility bills. Your job is to collect documents that add up to at least 100 points. Sounds straightforward, but the rules around which documents qualify and how many points each is worth trip up even experienced compliance professionals.
This article breaks down the 100-point identity check into six clear steps, covering exactly which documents you need, how points are allocated, and how to avoid common mistakes. And if you’re running these checks regularly, we’ll also cover how StackGo’s IdentityCheck integration can automate document verification directly inside your CRM, removing the manual effort without adding another platform to your stack.
1. Verify IDs inside your CRM with StackGo
If you run identity checks regularly, manually switching between your CRM, a verification platform, and your compliance records wastes time and creates gaps. StackGo’s IdentityCheck integration lets you run verified identity checks directly inside platforms like HubSpot or Salesforce, so your team stays in one place while the check runs in the background.
What you need to do
Start by connecting StackGo’s IdentityCheck to your existing CRM. Once the integration is active, you select the contact record you want to verify and trigger the check from within the platform. StackGo reads the contact’s details, runs the verification against global identity databases, and writes the outcome directly back to the contact record, without you leaving your CRM at any point.
Running verification inside your CRM means your audit trail builds automatically, with no copy-paste errors or missing compliance records.
To get started, confirm you have the following in place:
- An active StackGo account with IdentityCheck enabled
- A connected CRM (HubSpot, Salesforce, or Xero)
- The client’s basic contact details pre-filled in the CRM record before triggering a check
Documents and evidence to collect
IdentityCheck pulls the contact’s existing data from your CRM and submits it to the verification engine. You collect the client’s government-issued identity documents as part of your onboarding process, then confirm those details are accurately recorded in the CRM before running the check. StackGo supports verification across over 200 countries and more than 10,000 document types, so your document verification checklist works for both Australian and international clients.
Before triggering a check, confirm the CRM record holds the client’s full legal name, date of birth, and document number exactly as they appear on the submitted ID.
Common issues and how to fix them
The most common issue is mismatched data between what the client provided and what is recorded in the CRM. If a check returns a failed result, review the contact record first before re-requesting documents. A typo in a date of birth or a missing middle name is typically the cause.
Data privacy is a separate concern worth addressing upfront. StackGo’s privacy layer keeps sensitive identity information out of your CRM entirely, with access restricted to MFA-authenticated admins, which reduces your exposure under Australian privacy obligations.
2. Confirm the verification standard you must meet
Before collecting a single document, you need to know which verification standard applies to your situation. Australia’s 100-point check is the most common framework, but the specific requirements vary depending on your industry and regulator. Confirming the standard upfront shapes everything else on your document verification checklist and prevents you from collecting the wrong combination of documents.
What you need to do
Identify the regulatory body that governs your compliance obligations before you request anything from a client. Accounting firms fall under the Tax Practitioners Board (TPB) and, from 2026, AUSTRAC’s AML/CTF regime. Review your regulator’s current guidance and confirm which verification standard applies to the specific client type you are onboarding. The standard can differ based on:
- Client risk level (standard vs. high-risk)
- Whether the client is an individual or a company
- The nature of the service you are providing
Documents and evidence to collect
Keep a written record of the verification standard you are applying for each client, including the regulator name, the rule or guideline reference, and the date you confirmed it. For AUSTRAC-regulated entities, this means referencing your AML/CTF Programme documentation directly. Store this record alongside the client’s identity file so your audit trail is complete from the start.
Confirming your required standard before collecting documents prevents you from accepting the wrong combination and having to restart the entire process.
Common issues and how to fix them
The most common mistake is applying a generic 100-point checklist when your regulator requires something more specific. AUSTRAC’s customer identification requirements include additional obligations around politically exposed persons and high-risk customers that go beyond a standard points tally. Check the current guidance directly from your regulator rather than relying on outdated templates or internal documents that have not been reviewed recently.
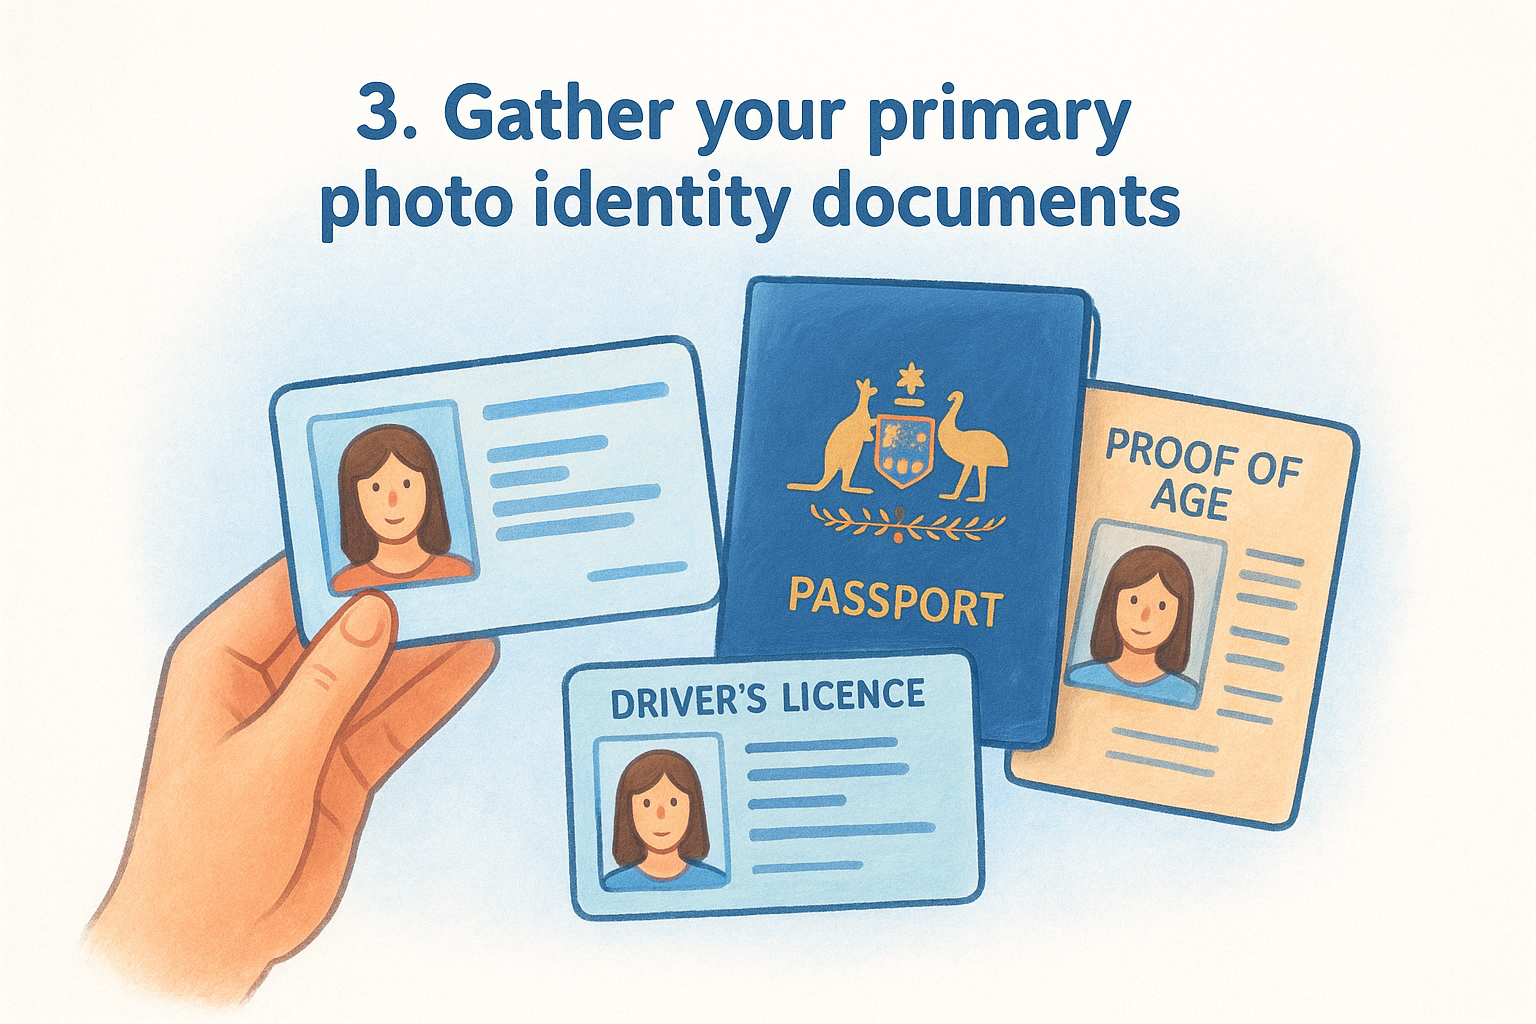
3. Gather your primary photo identity documents
Primary photo identity documents carry the highest point values in the 100-point system, often contributing 40 to 70 points each. Starting your document verification checklist with these documents reduces how many additional items your client needs to provide.
What you need to do
Request at least one primary photo ID from your client before collecting anything else. Government-issued photo identification takes priority because it links a photograph directly to biographical data, making it the strongest evidence of identity.
Before recording the document, confirm these three things:
- Name matches the client’s details in your file exactly
- Photograph is clear, undamaged, and readable
- Document is current or within the accepted expiry window
Documents and evidence to collect
The following documents are accepted as primary photo identification under Australia’s 100-point framework. Point allocations can vary by regulator, so confirm the values against your specific compliance obligations before finalising your checklist.
- Australian passport (current or expired within 2 years): 70 points
- Foreign passport (current): 70 points
- Australian driver’s licence (current): 40 points
- Proof of Age card issued by an Australian state or territory: 40 points
A current Australian passport brings you to 70 points immediately, leaving only 30 points to source from secondary documents.
Common issues and how to fix them
The most frequent problem is clients submitting expired documents that fall outside the accepted window. Check the expiry date at the point of collection, not at a later processing stage, to avoid having to restart the entire verification process.
Accepting a foreign driver’s licence without checking your regulator’s classification is a separate risk. You may treat it as a primary document when it actually counts as secondary, which changes how many points you can allocate from that single item.
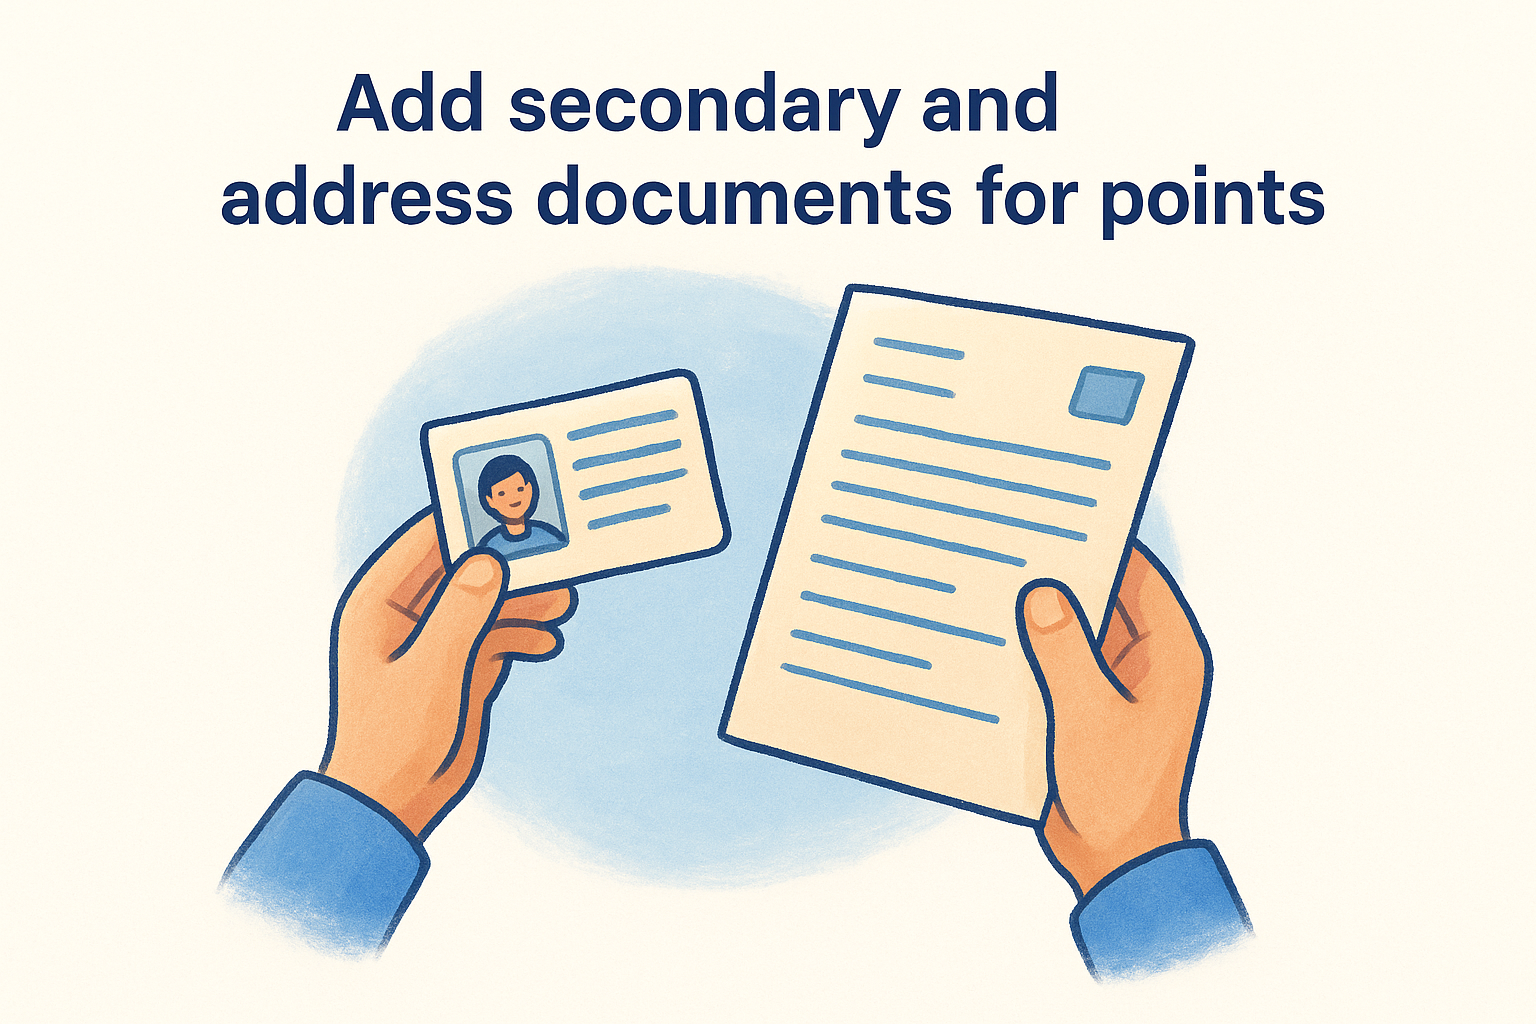
4. Add secondary and address documents for points
Once you have your primary photo ID recorded, secondary and address documents fill the remaining points gap. These documents typically contribute between 25 and 40 points each, so you will usually need two or three additional items to reach 100 points when starting from a driver’s licence.
What you need to do
Review your current point total after recording the primary document, then work out exactly how many points you still need. Check each item against your document verification checklist systematically, and confirm that the name on every secondary document matches the primary ID exactly. Prioritise documents your client is most likely to have on hand to avoid unnecessary delays.
Use the following approach to close the gap efficiently:
- Confirm remaining points needed
- Request two or three secondary documents upfront
- Verify name consistency across all items
Documents and evidence to collect
The following documents are accepted as secondary or address verification under Australia’s 100-point framework. Point values can vary by regulator, so confirm against your specific obligations before finalising your list.
- Australian birth certificate (if no passport used as primary): 70 points
- Medicare card: 25 points
- Centrelink concession card: 25 points
- ATO tax assessment notice (within 12 months): 25 points
- Bank statement from an Australian financial institution (within 12 months): 25 points
- Rates or utility notice issued by a government body: 25 points
A birth certificate can contribute up to 70 points, making it the strongest secondary option available when your client holds no passport.
Common issues and how to fix them
The most common problem is clients submitting documents older than 12 months, which most regulators will not accept for address verification. Check the issue date on every document at the point of collection rather than after recording it in the client file.
5. Validate details and create an audit trail
Collecting documents is only part of the process. Once you have your primary and secondary items in hand, you need to cross-check every detail across all documents before closing the verification and confirm they match the information held in your client’s file. This step is what makes your document verification checklist defensible if a regulator reviews your records.
What you need to do
Compare the full legal name, date of birth, and address on each document you have collected against one another. Confirm that every document belongs to the same person and that there are no discrepancies in spelling or formatting. Record the document type, issuing authority, document number, and expiry date for each item in your verification file at the time you check it, not later.
Your audit trail is only useful if it is created at the time of verification, not reconstructed after the fact.
Documents and evidence to collect
Retain a certified copy or scanned record of each document you have sighted, alongside a completed verification record that logs who conducted the check and when. Your file should include:
- A verification summary noting the total points achieved and which documents contributed
- The date and method of verification (in-person, electronic, or remote)
- Staff member name and sign-off
Common issues and how to fix them
The most common problem is incomplete records created after a verification has been finalised from memory. Always complete the verification record at the time of the check, and store it where it cannot be altered without an access log.
If a client’s name differs slightly across documents, record the explanation in the file rather than ignoring the discrepancy. An unexplained mismatch creates compliance risk during an audit.
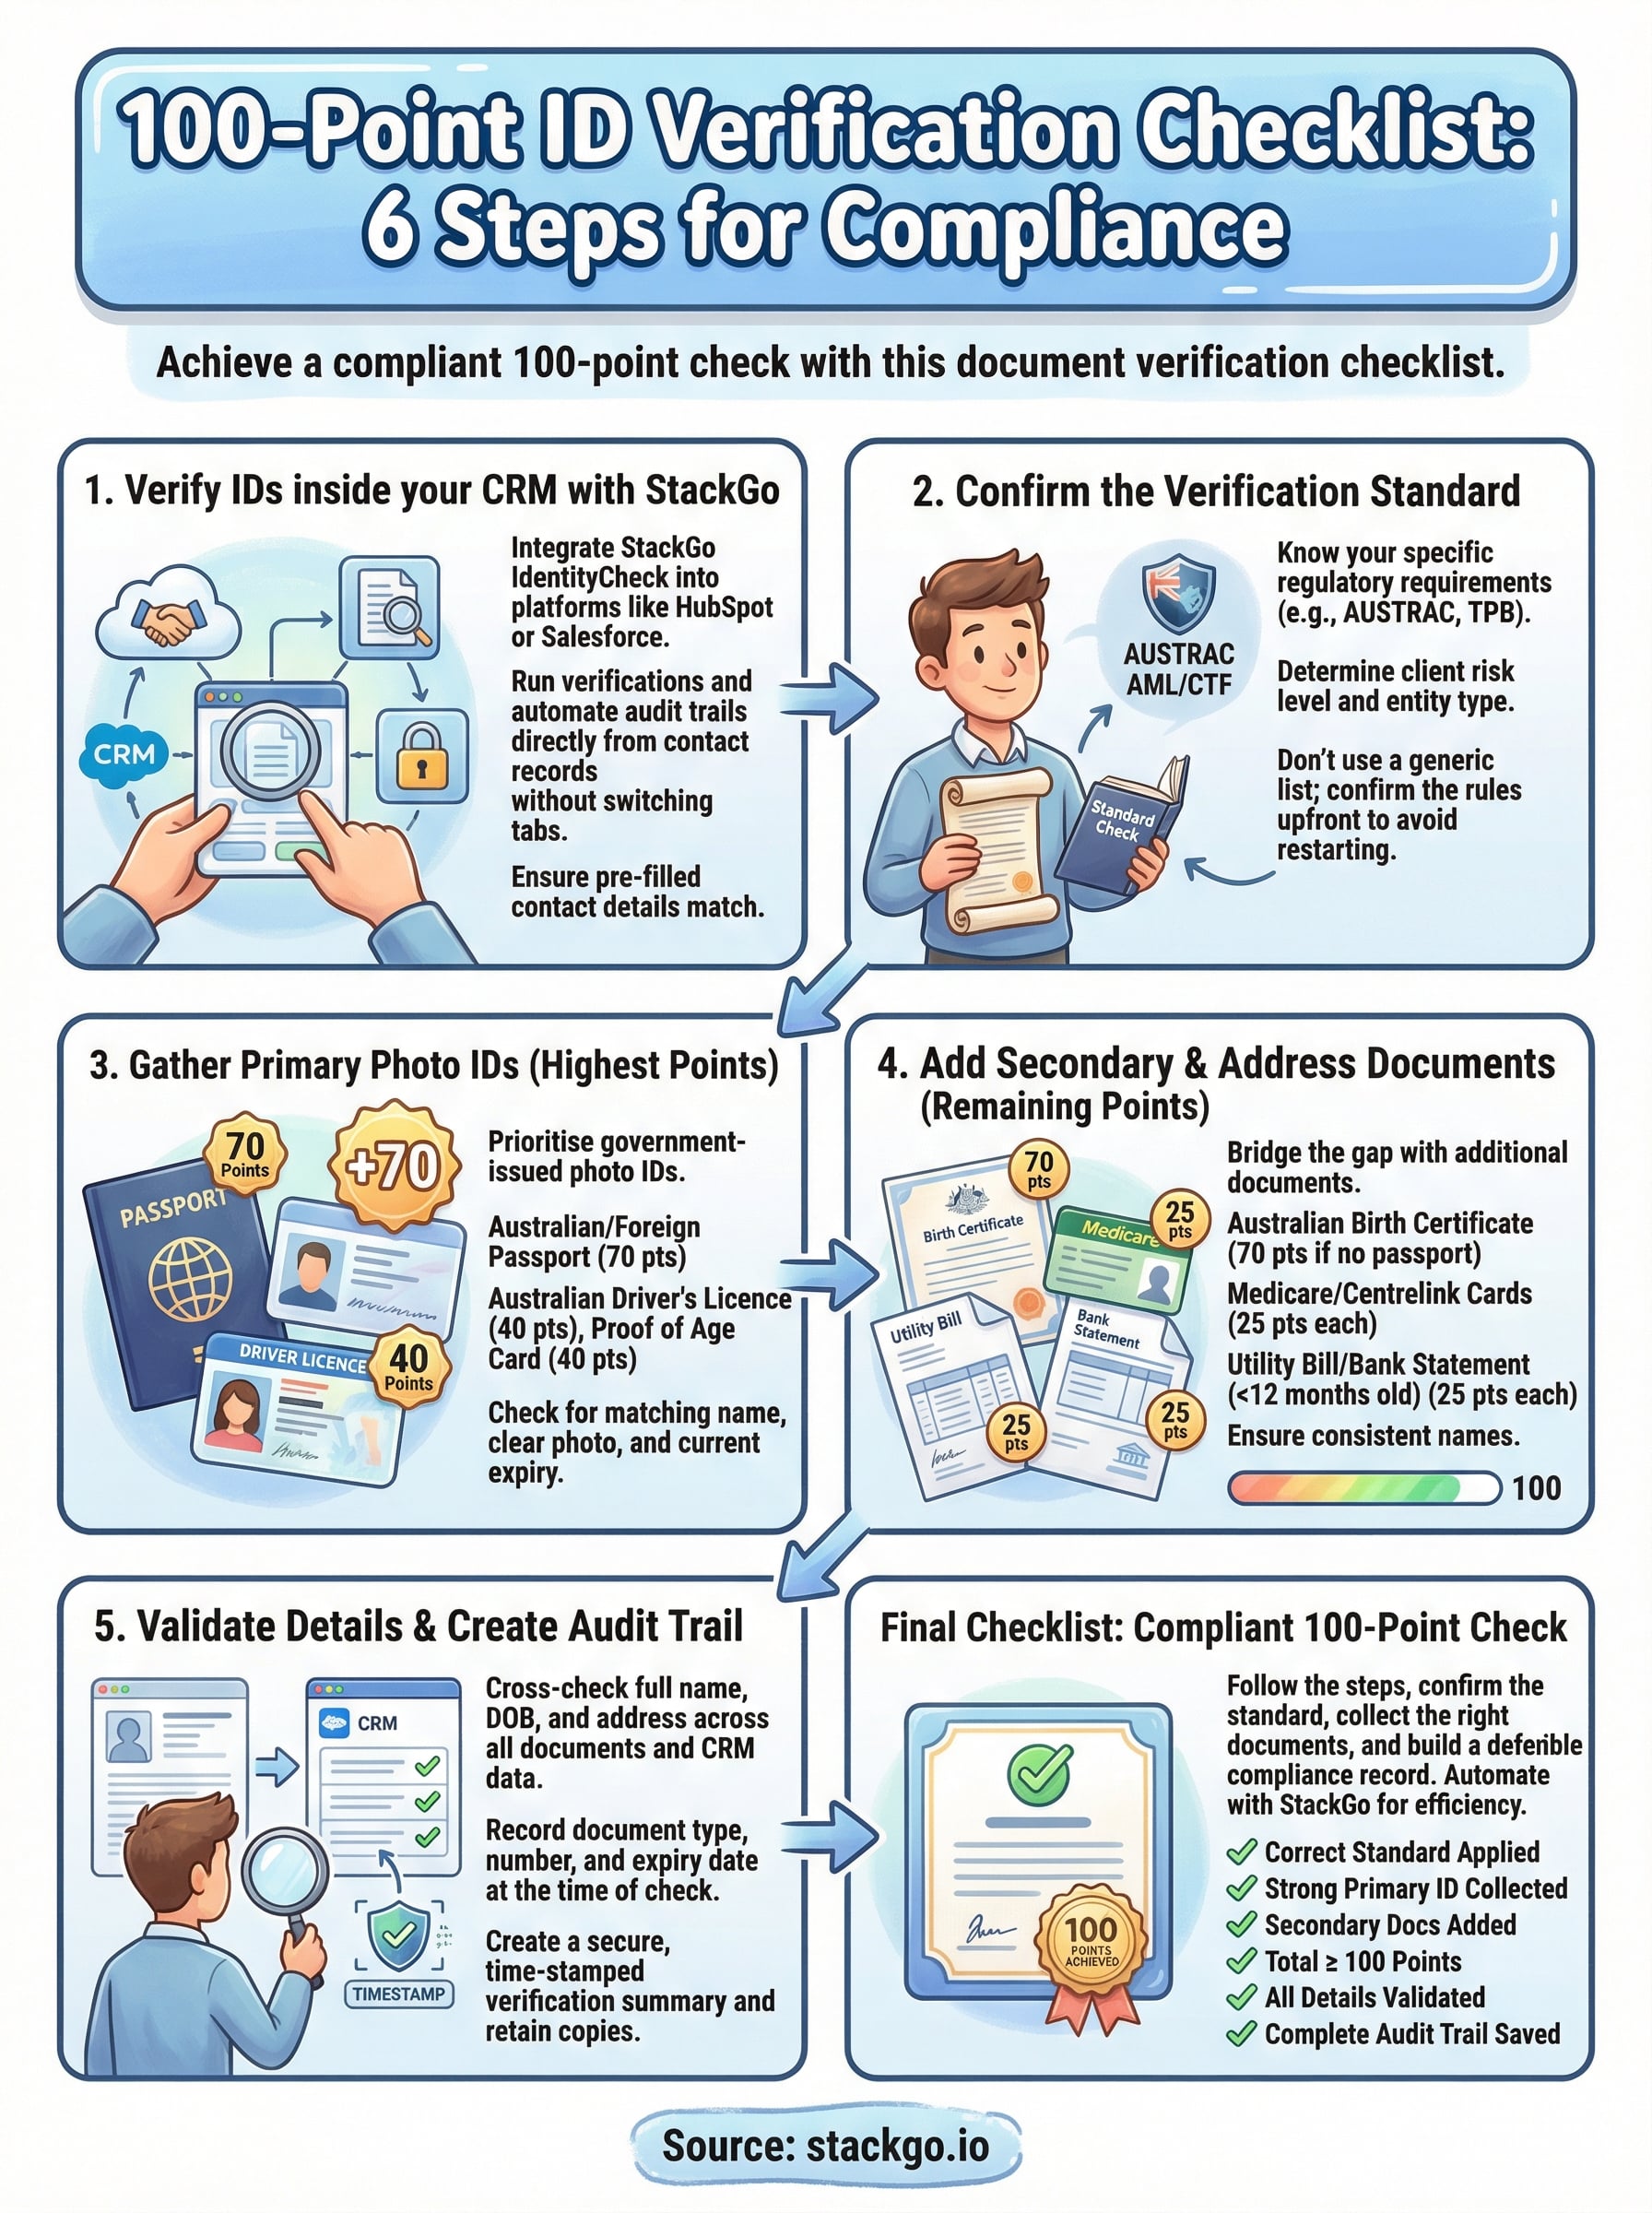
Final checklist
Running a compliant 100-point identity check comes down to following the right steps in the right order. Confirm your regulatory standard, collect a strong primary photo ID, add secondary and address documents until you reach 100 points, and lock in a complete audit trail at the time of verification. Miss any of these steps and you risk either failing the check or being unable to demonstrate compliance if a regulator asks.
Use this document verification checklist as your reference point every time you onboard a new client, not just when you are unsure. Consistency is what makes your compliance records defensible.
If your team runs these checks regularly, automating the process removes human error and keeps your records in one place from the start. Run identity checks directly inside your CRM with StackGo IdentityCheck and cut the manual effort from your compliance workflow without adding new software to your stack.


